
Anki is a very powerful flashcard app that is popular for learning languages, as well as medical students, and people who are seeking to retain information from a variety of other topics and subjects. There are many useful tips for using Anki that can be gleaned from using it. Although the basic idea of creating simple back and front flashcards is self-evident, there are many other useful tips and tricks that this post is going to show you to make sure that you’re making the best of Anki.
This article will not discuss ways to go about cramming information in the shortest amount of time. If you need to cram for an exam or a test, or because you’re traveling to another country very soon and need as many vocabulary words as possible, have a look at this post here. While I don’t recommend the idea of cramming for an exam, particularly if it is language-based, as there is just so much information that you may need to retain in such a short amount of time, sometimes life happens and you need to.
This article will discuss simply some useful tips for using Anki, and give you some ideas for what addons and considerations you can have when creating your own flashcards to help future you with your learning.

Using Anki To Make Flashcards
To start with making flashcards, you can simply use some of the pre-set templates that Anki uses. If you’re pushed for time, I would recommend simply using the card types that are already in the program: Basic, Basic (and reversed card), and Cloze.
| Basic | Shows the front as the question back is only shown as the answer |
| Basic (and reversed card) | Both the front and back of the card are shown as the question |
| Cloze | Leaves a blank spot in the card to answer |
Don’t be overwhelmed by the program. Once you start creating and using cards, it’s quite simple to change the card type if you have made a mistake.
If you have more time to spend, feel free to play around with creating your own card types if there are extra things you wish to include. You can create cards with multiple questions by adding extra information, which you can find more information in this post here.

How Much Information Should I Put On An Anki Flashcard?
The biggest useful tip that I can give for Anki is to make sure you keep the information on your flashcards simple. You will be tempted to put multiple ‘blocks’ of information as the answer for one card. Instead, create multiple cards to flesh out that information. An example is below:
Q: What are the uses of the different cases in German?
A: Accusative is for the direct object of the sentence, Dative is for the indirect object and Genitive is generally used to show possession.
Instead, create this into as many different questions as you can to keep the answers as simple as possible.
Q: What case is used for the direct object of the sentence?
A: Accusative
Q: What case is used for the direct object of the sentence?
A: Dative
Q: What case is usually used for showing possession?
A: Genitive
This means that your answers are much less in-depth and gives you the benefit of answering exactly what you can, and knowing if there is a specific case you are not clear on. It’ll be easier to remember things in smaller chunks rather than in larger blocks.
How To Organise Your Anki Deck And Flashcards
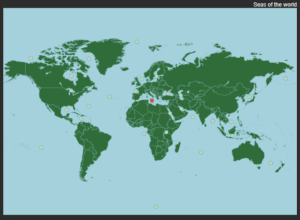
While at the moment you may be want to learn only one language, or perhaps you are learning flags of the world, one day (in the near future) you may find you want to learn other things at the same time. This can result in your Anki deck getting confusing.
The best way around this is to add “tags” to your cards right from the start. They don’t have to be in-depth or anything serious, but having something as simple as “German” added to all of your German cards, and “WorldFlags” added to all your flag cards can make all the difference. This means even if they’re in the same deck, they can easily be split into multiple decks if you want.
Something else you can do is create a parent deck to have all your other decks inside. I’ve put an example of this below.

What this means is that if I want to learn only German cards, I can click on the German deck within the Master Deck and focus on only German. Alternatively, I could click on the Master Deck to learn countries, German and Polish all together!
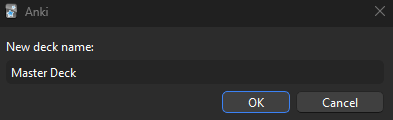
To do this, create your deck. I called mine “Master Deck”. It’ll be empty at the start.
Once you have that, rename any decks you want to have included in it. It will need to have “Master Deck::” before the name of that deck. For example, if I wanted my German deck included in the Master Deck, I need to name it “Master Deck::German”

Which would result in the German deck coming under the Master Deck to look like this.

This is very easy to change around as your needs change, as all you need to do is rename the decks to have a parent deck or to not.
Organising Anki Flashcards In A Big Deck
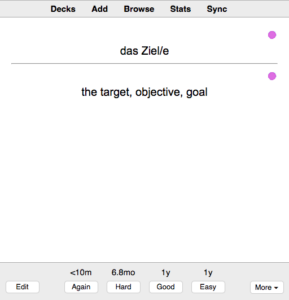
Now that you’ve got multiple decks under the same parent deck, you may find that there are times you don’t actually know what topic the flashcard you are looking at relates to. To solve this problem, I have put a topic or colored dot up the top right of all my flashcards. This is quick and easy to do. Language cards have a colored dot up the top right while other cards have the topic name. This means if there’s ever a card I’m not sure about, I can simply look at the top right to know what information I need to be thinking about.
I’ll give some information below for adding topic labels to your flashcards. Adding colored dots takes a little more effort – though not much more – and will be discussed in a later post. Adding either one is best done in the bulk-creating stage of your flashcards, as it can all be done through the Excel spreadsheet.
Before you start this, make sure you have synced your Anki across all the platforms you use.
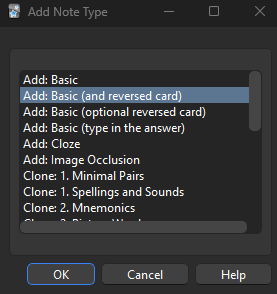
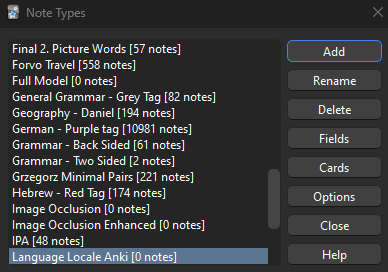
To start, go to Tools -> Manage Note Types. Find the type of note that you will be using – or you can create your own. All you need is a Basic and reverse card for this. If you’re using other note types, this will also work. A note type is the name of the different styles of flashcards that Anki allows you to have. For example, having flashcards that are only one-sided is one note type. Another is the Close flashcards. The name “Note Type” can make it confusing, but it is simply the name of the formatting of the flashcard.
Once you have created it, find it in your list and click on “Fields”. You’ll want to add one which will be where you insert the Topic name.
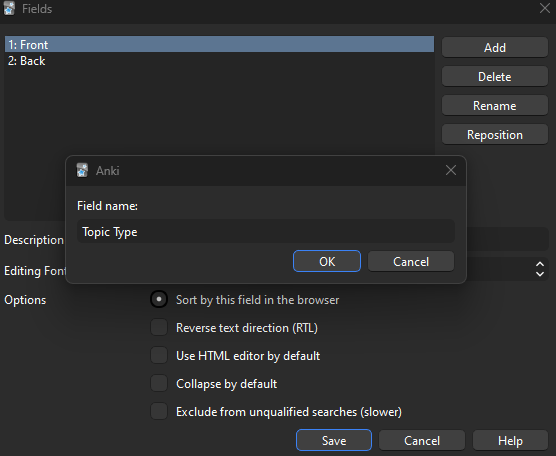
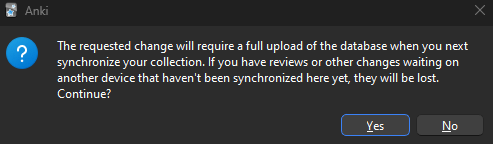
You’ll come across this warning below, which is ok. This is telling you that Anki you currently have open will need to sync and override the database on any other platforms. This means if you used Anki on another device and made changes to some cards, you’ll need to sync that first, before creating these new fields.
Now click “Save”
Now we have another field for this card, go back to that card in the list and click on “Cards”. This is where we change what cards that use this Note Type will look like – the formatting section.
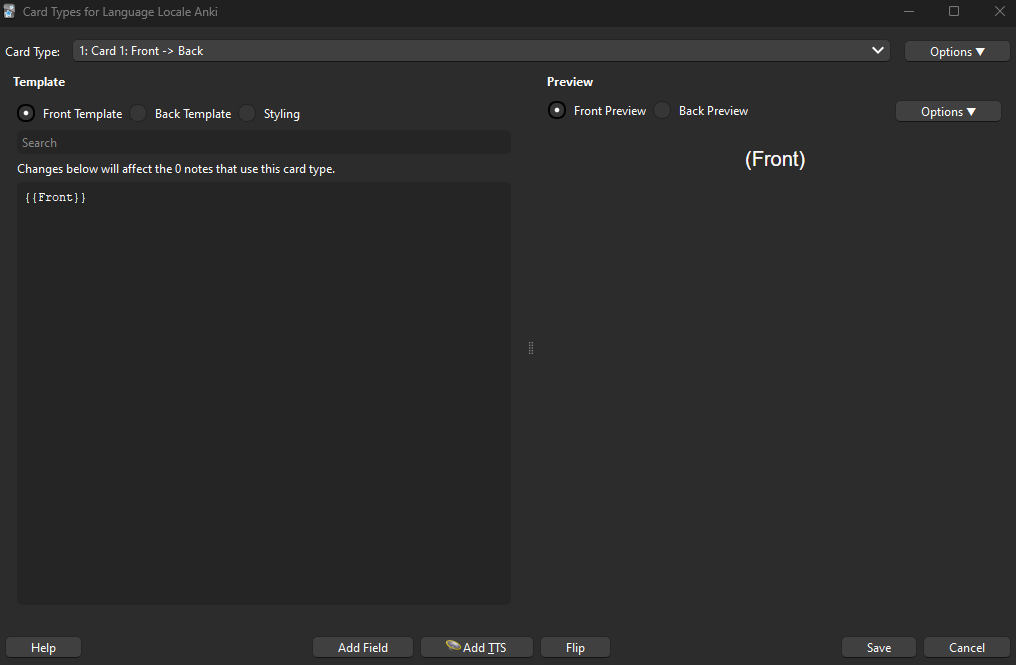
What you want to do is click on the “Add Field” button. This will allow you to choose the field you want to insert – you want the one you have just created. For me it it titled “Topic Type”. This is going to add some coding into the area – but luckily we don’t need to know how to write it ourselves.
You’ll know that it is done right when you can see in the preview on the side that it looks like the following.

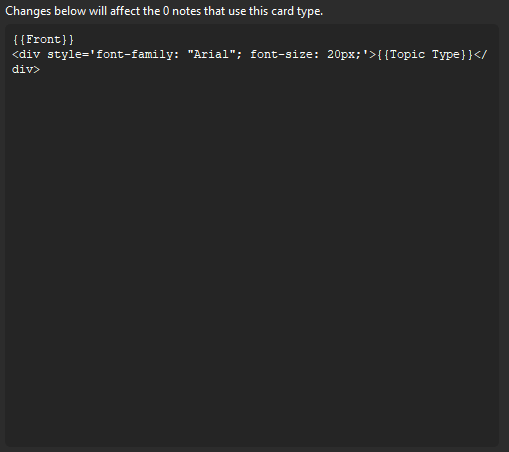
Now we want to do some easy formatting to make the topic type smaller and up the top right.
To change the font size, change the number 20 in the code to whatever you wish. I use 12 as it is small enough that it’s not in the way of my learning but big enough to read still.
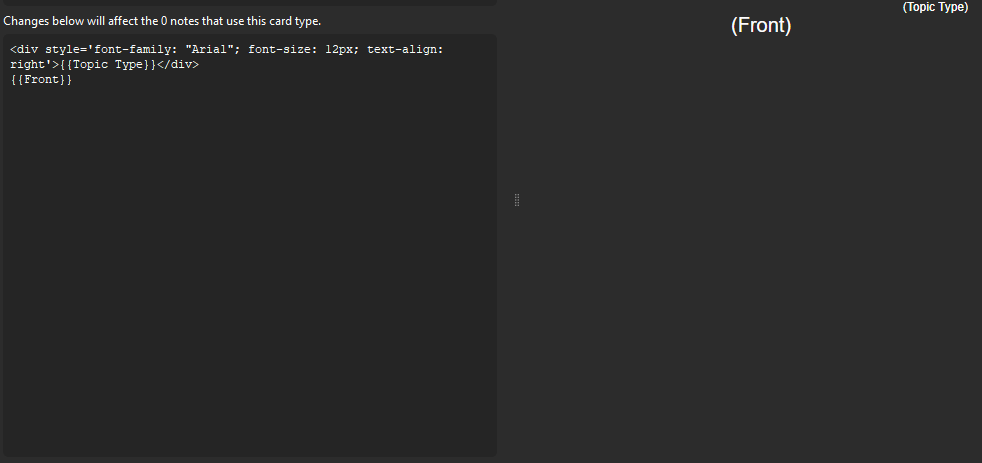
Now to make the Topic Type show on the right side, you’ll need to add in the following code text-align: right
I’ve shown what this looks like all together here.

If you want the topic type to appear above the front words – which I recommend – cut and paste that coding above the {{Front}} so that it now looks like this.
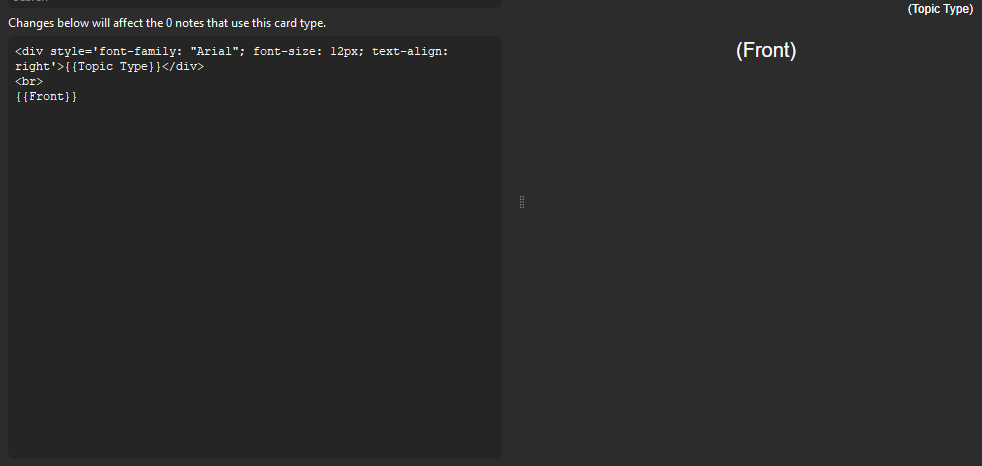
There is one last thing you can do if you wish. You can add a line break between the Topic Type and the Front if you want to have some space between the two. To do this, simply add a <br> like below.
You’ll want to do this to the back template as well, however, all you need to do is copy and paste all that new code onto the back template. All done! That is all.
Adding Topic Labels To Anki Flashcards
Adding topic labels is easier than adding colored dots. Now that you have all your fields set up (see the previous section if you haven’t done so already), all you will need to do is add another column in your Excel spreadsheet. In this column, for each card, you’ll need to add the Topic name that you want to have appear on each flashcard. For example, this could be the word “German” or “Geography”, “Anatomy” etc. This would then make sure that that word appears up the top of your cards, as shown here.

Using Pre-Made Decks To Learn On Anki
If you are using Anki for cramming and you’ve come to this page – don’t stress! You’re not likely to be the first person needing to cram information for a test or exam. Check to see if a deck exists already – there’s no point reinventing the wheel. That being said, however, you may prefer to have your own flashcards rather than those of another person.
There are differing opinions regarding the amount of learning that occurs while creating flashcards.
I have personally found that depending on the topic, I sometimes prefer creating my own cards as they have some level of familiarity to them when I see them in my deck. This is particularly true of language cards, however, I do use pre-made cards for other topics, particularly general knowledge, and geography cards. You will need to make your own choices on this and decide which you prefer and how much time you have to spend making cards.
If you want to know how to bulk-add flashcards to Anki to give yourself a boost by creating your own deck, check out this post here for that information. It’s a really easy and simple method of doing this, which is great!
Alternatively, if you want more information on simply cramming for an exam, check out the dedicated post on that subject here.

Helpful Addons For Making Anki Easy
There are countless add-ons that are available to use on Anki. The process for getting an addon is actually really easy. There are shared addons created by the public that are put onto the Anki Addon page. Once you have found the addon you want, you’ll need to scroll to below the description to find a little box that has some numbers in it. It’ll look something like this:

This code is what you’ll need. There’s no actual download needed from that website. Go into your Anki app and go to the bar up the top to Tools -> Addons. Click on “Get Addons” and type in that number. Anki will automatically download and install that addon for you. Make sure to sync that Anki so that any other platforms that you use Anki on – a computer or phone – will also get that addon. Easy!
You do not need addons to use Anki from the start.
You can simply use Anki as it currently is and that will be completely fine. The addons that are listed below will definitely make your life easier, but they aren’t the be-all and end-all of using Anki. They’re nice-to-haves and not must-haves. That being said, have a look at some of the suggestions to see if you’re interested in them.
Making Reviewing Cards Easy
Another way to complete lots of reviews within a set time is to use the “Speed Focus Mode” addon.
You can configure this addon to automatically show the answer after a set amount of time (say, 5 or 7 seconds). This means you have some pressure to think about the answer, but you’re not clicking to reveal the answer before you have had time to think about it.
It also means you can change the delay before revealing the answer to review a large number of cards in a set amount of time. If you only have 20 minutes to review cards, and you have 200 cards, you can simply change the setting to 6 seconds. This guarantees that you’ll see the cards you need to, assuming there aren’t any cards you need to see again.
Seeing Future Flashcard Review Workload
If you’re really into the numbers and the stats, you might be interested in knowing how many reviews are in your future. The Anki Simulator helps you with this. You’ll be able to adjust some of the learning options – the same ones that you would need to adjust for cramming for an exam – and see how this will change your workload in the future!
This can be super useful if you have a set target deadline for when you want to learn your cards by, and need to know how much effort you need to put in to meet that deadline!
Automatic Text To Speech For Any Language
I’ve already written about this addon in a post looking at language learning for quick tourist travel, however, this addon is too good to not mention here as well.
The addon is called Awesome TTS (Text to speech) which will enable audio for the cards you have created. This can be done in any language, which means that the word or phrase on the card will be said with the correct pronunciation and intonation for you to copy. You can replay it as often as you’d like as well, which is just incredible. This means you’ll be hearing what you need to say and be able to match this with the phrases you want to learn.
- Should Everyone In The World Speak A Universal Language?

- The Power of Immersing Yourself In A Language For Learning
- Start Your Language Learning Journey: Duolingo And Other Methods
- Does Learning A Language Help You Learn How Others Think
- Can You Learn a Language Without Learning Its Culture?
- Unlock Fluent Expression: Sentence Builders Across Languages
- Hidden Gems: Underrated Duolingo Languages Worth Learning
- The Ultimate German Pronunciation Guide
- Where To After Finishing Duolingo For Language Learning